
Nice modelling.
Did you consider printing the top sections (front face, rear face, track bed, arched brick section) as one piece? It can be hollowed out on the computer.
As yet un-named, my OO layout starts.
Re: As yet un-named, my OO layout starts.
Its certainly do- able Steve, but I prefer the printer to run in bite size chunks, nothing more than a couple of hours run time in one go.
I may have a look and see how long it would take, but drawing bricks on a curve (under the arch), is likely beyond my basic CAD abilities
I may have a look and see how long it would take, but drawing bricks on a curve (under the arch), is likely beyond my basic CAD abilities
Re: As yet un-named, my OO layout starts.
I prefer to do as much as possible in one print - longest print is about 28 hours so far!!
I just think that a single piece as described would be more robust and reduced any possible alignment issues. How about a plain surface on the curve as a base to glue the embossed brick onto?
I just think that a single piece as described would be more robust and reduced any possible alignment issues. How about a plain surface on the curve as a base to glue the embossed brick onto?
"Not very stable, but incredibly versatile." 
Re: As yet un-named, my OO layout starts.
I see your point. Looking into it it will take around 4.5 hours to print one arch section complete, not terrible (although I need 12) .... the individual sections work out to around 2.1 hours total. Hopefully there wont be any alignment issues, the arches have clip in bow-tie ties at the rear to help with that, and with some epoxy and a flat surface they should align without issue. The track bed slots in the arches and sits offset halfway so will further strengthen the join. I have reworked the track bed as I wasn't happy with that and added bow-ties to that for alignment.
I just need to work out the best glue for sticking the track to the PLA with when the time comes !
I just need to work out the best glue for sticking the track to the PLA with when the time comes !
Re: As yet un-named, my OO layout starts.
Sorry, didn't realise you were using filament (I use resin).
Not sure what glue to suggest but maybe key the trackbed with sandpaper and just use PVA. Ballast as normal when dry and it should stay put but still be removable if necessary. Consider a few very fine track screws just for the bridge section?
Not sure what glue to suggest but maybe key the trackbed with sandpaper and just use PVA. Ballast as normal when dry and it should stay put but still be removable if necessary. Consider a few very fine track screws just for the bridge section?
"Not very stable, but incredibly versatile."

Re: As yet un-named, my OO layout starts.
PLA can be glued with PVA, superglue, or even a little melted PLA...
Thats an impressive print from an FDM printer! What printer are you using?
Also, was it a model you made yourself or got from somewhere?
Thats an impressive print from an FDM printer! What printer are you using?
Also, was it a model you made yourself or got from somewhere?
Father, IT Guy, HO/OO Modeler.
Re: As yet un-named, my OO layout starts.
I’ve just seen your viaduct post; simply excellent, like others, I can’t wait to see it finished. Keep the pictures coming.
Re: As yet un-named, my OO layout starts.
Thanks guys, sorry for the late reply, just got back from a week away.
@Stese - This was done on a Bamboo A1 and yes, is all my own work drawn using Tinkercad as that nearly simple enough to wrap my thick head around !
@bnb - I assumed PLA and track sleepers were not going to melt like injection moulded plastic kits, but I have some Revell Contacta kit glue I can try out, as well as a good superglue (usually what I use on smaller 3D Prints) and some fast acting pva.
TBH I was thinking maybe some copydex or contact adhesive to stick the track to the viaduct before ballasting.
Just before Hols I managed to work out how to do the bricks on the under arch area
I deliberately made them less pronounced than the faces, mainly to cut down on print time, but once painted will hopefully look decent.
Re: As yet un-named, my OO layout starts.
A bit of time secured to work on the track this morning, I did warn you this would be slow progress 
Today I got the base rust and sleeper grime coat down on the goods yard area (the only track in place and pinned atm).
Once painted and top of the rails cleaned, even though none of the dropper wires are connected, I tested out continuity with a cheap old Hornby set track controller and a 1980's manufactured 0-4-0 saddle tank.
Despite not being happy on the bullhead point checkrails (maybe B2B, maybe just old chunkier wheels), she happily picked up power everywhere- result !

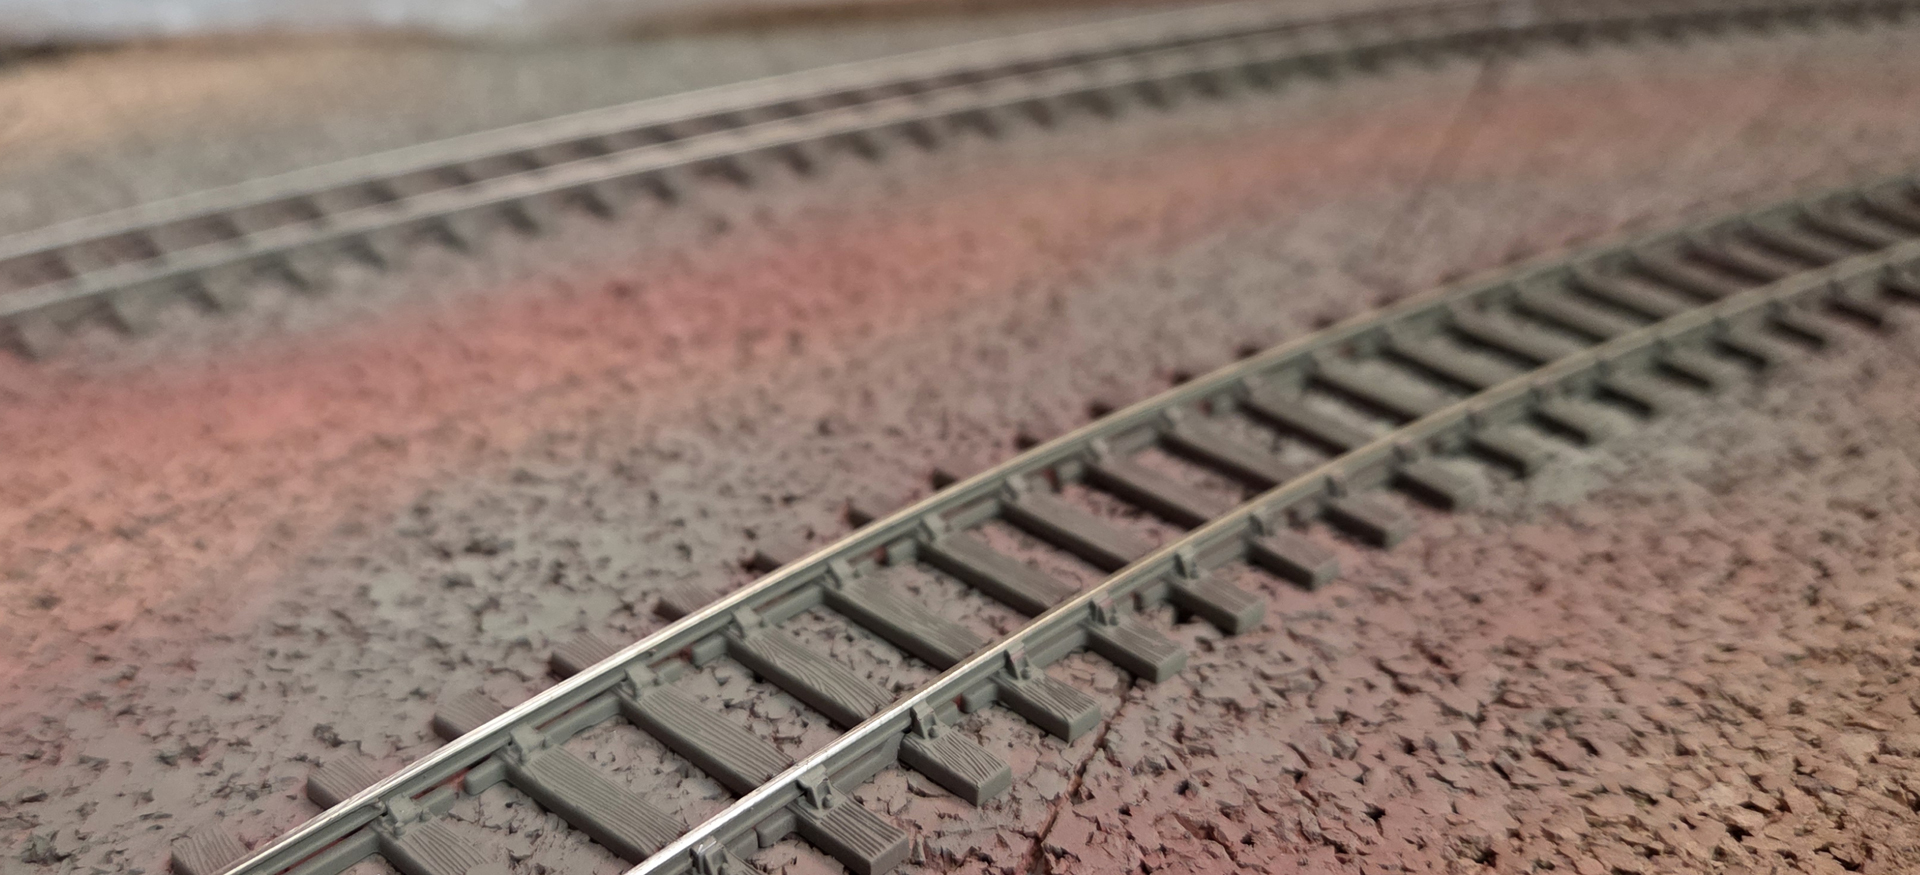
Next job is connecting the droppers under the boards for this section, but that's for another time, my back told me it was time to stop for now
Today I got the base rust and sleeper grime coat down on the goods yard area (the only track in place and pinned atm).
Once painted and top of the rails cleaned, even though none of the dropper wires are connected, I tested out continuity with a cheap old Hornby set track controller and a 1980's manufactured 0-4-0 saddle tank.
Despite not being happy on the bullhead point checkrails (maybe B2B, maybe just old chunkier wheels), she happily picked up power everywhere- result !
Next job is connecting the droppers under the boards for this section, but that's for another time, my back told me it was time to stop for now